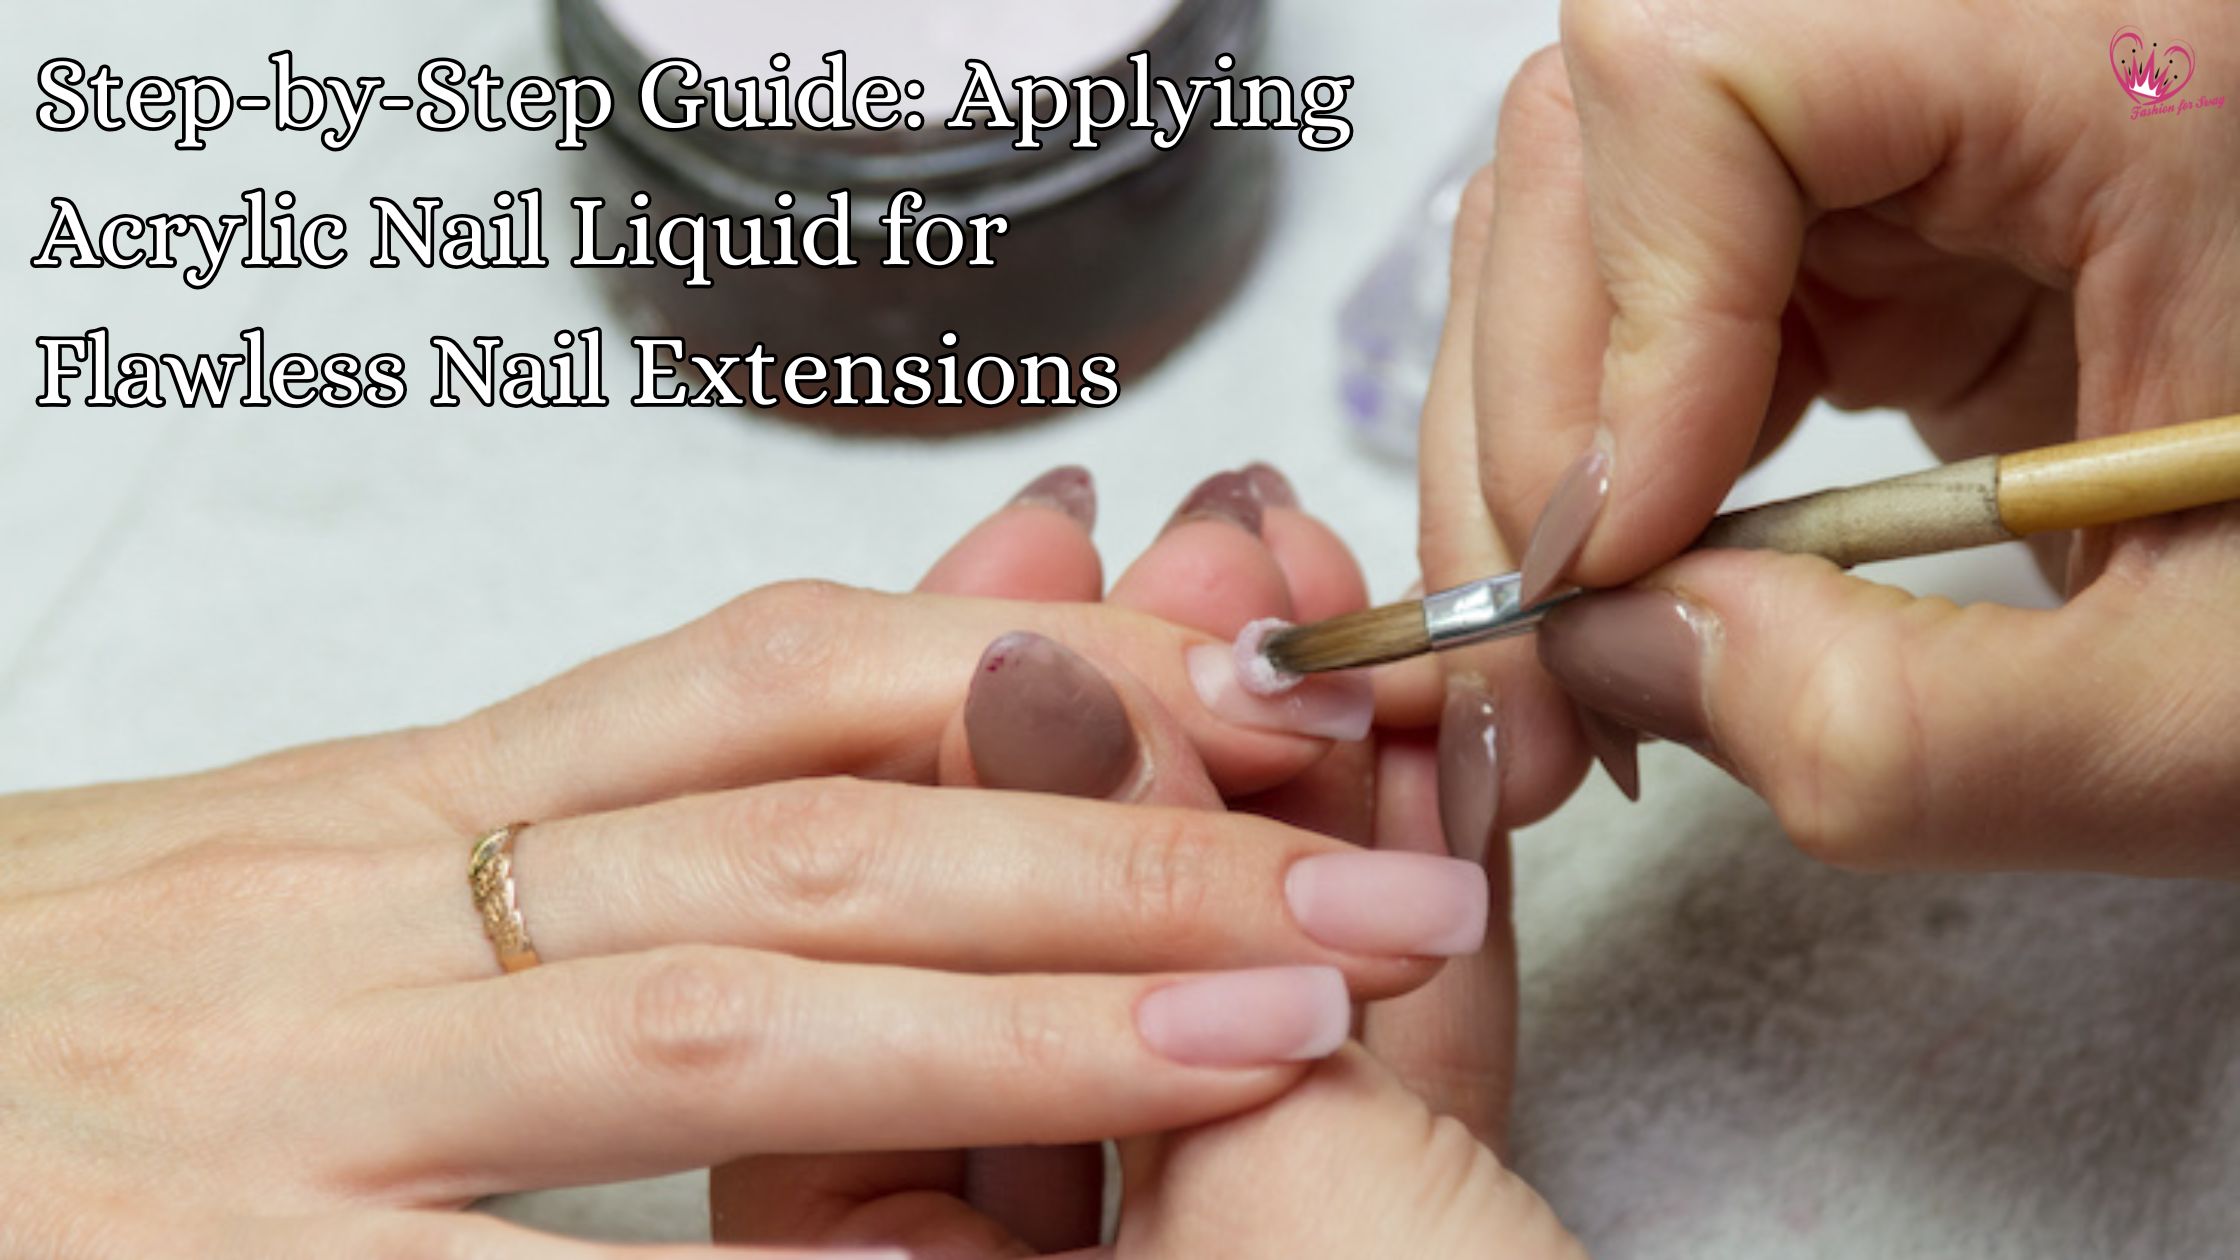
Step-by-Step Guide: Applying Acrylic Nail Liquid for Flawless Nail Extensions
The charm of lengthy, durable, and beautifully sculpted acrylic nails is undeniable. They offer limitless opportunities for creative expression and can instantly raise any look. With the developing interest in at-domestic nail artistry, more lovers are exploring DIY techniques. However, achieving salon-fine results requires greater than simply desire; it demands proper method.
At the coronary heart of each perfect acrylic nail extension is the acrylic liquid, additionally called monomer. This crucial aspect acts as the catalyst, mixing with the acrylic powder to create a pliable bead that hardens into the strong, resilient nail extension. Mastering its utility is prime to fulfilment.
This comprehensive, step-with the aid of-step manual will demystify the procedure of making use of acrylic nail liquid (monomer). It’s designed for each aspiring nail technicians and committed DIY enthusiasts, providing essential strategies, critical protection precautions, and practical troubleshooting guidelines that will help you achieve ideal, professional-looking nail extensions, whether in your own home in Noida or a bustling salon.
Before You Begin: Essential Prep & Safety
Successful acrylic application hinges on meticulous instruction and adherence to strict safety protocols. Skipping those steps can lead to negative effects and capability fitness dangers.
Gathering Your Supplies
Start by assembling all necessary gear. You’ll want notable acrylic liquid (monomer) – specially EMA (Ethyl Methacrylate) based totally, that’s industry-well-known and more secure. Crucially, usually keep away from MMA (Methyl Methacrylate) monomer, because it’s rigid, hard to remove, and banned in lots of regions because of extreme nail harm. Pair this with a compatible extremely good acrylic powder (polymer). A glass or ceramic dappen dish is vital for containing the monomer. For application, spend money on a terrific first-class sable acrylic brush, normally sizes #8 or #10. You’ll also want a nail dehydrator/pH balancer, an acid-loose primer, and either nail tips with glue or sculpting paperwork for extension. Prepare a 100/180 grit nail report, a buffer, lint-loose wipes, acetone for brush cleaning, and a paper towel or lint-loose pad for excess product.
Nail & Hand Preparation
Proper acrylic nail preparation is important for adhesion and longevity. First, sanitize each the patron’s and your very own arms thoroughly. Gently beat back cuticles using a non-cutting pusher – never reduce stay tissue. Next, gently buff the herbal nail plate to take away any shine, developing a receptive surface for the product. Dust off all particles meticulously. Then, follow a nail dehydrator to dispose of oils and moisture, observed by a skinny, even coat of acid-loose primer, allowing it to air dry completely. This creates the ideal sticky base for the acrylic.
Ventilation & Safety Measures
Given the sturdy fumes of acrylic nail products, air flow is sincerely important. Always paintings in a properly-ventilated area, ideally with open home windows and a fan to flow into air far away from you. Wear a face masks (N95 or equal) to save you inhaling the sturdy monomer fumes. Protect your paintings surface with paper towels or a disposable mat. Avoid touch with pores and skin at all costs, as the liquid can motive inflammation or allergies through the years. When sourcing products in India, prioritize respectable beauty supply stores or mounted online vendors to ensure you are shopping secure, super EMA monomer and no longer the dangerous MMA opportunity.
Mastering the Monomer-to-Polymer Ratio: The “Bead”
The heart of flawless acrylic software lies in getting to know the best monomer-to-polymer ratio, which creates what nail technicians call the “bead.” This talent is foundational and requires practice.
Understanding the Ratio
At a essential level, the technological know-how at the back of acrylic is simple: the acrylic liquid (monomer) acts as an activator for the acrylic powder (polymer). When they integrate, they shape a malleable bead that, through the years, air-dries and hardens right into a sturdy, durable nail extension. The significance of an accurate ratio cannot be overstated. If your bead is simply too moist, it’ll be thin, runny, at risk of bubbles, may also purpose discoloration, and bring about a weak, soft nail that without problems breaks or lifts. Conversely, if the bead is just too dry, it’ll be crumbly, tough to sculpt, won’t adhere nicely to the nail plate, and results in premature lifting.
Picking Up the Perfect Bead
Achieving the proper bead starts with the way you take care of your brush and monomer. Begin by ensuring your brush is smooth. Then, dip the brush into the monomer, submerging the bristles. As you withdraw it, perform the “easy brush, dip, faucet” method: gently wipe one facet of the brush towards the dappen dish’s aspect to remove extra liquid. The angle of your brush as you dip (generally around 45 ranges) helps manipulate the quantity of liquid picked up. By tapping off excess liquid on the threshold of the dish, you could first-rate-tune the “wetness” of your brush, which at once influences the bead consistency.
Scooping the Powder
Once your brush has the right amount of monomer, without delay pass to the powder. Gently press the end of your brush into the acrylic powder, permitting the liquid to saturate the powder and form a small, spherical bead. The size of the bead (small, medium, or large) relies upon on how a whole lot powder you scoop. As the bead bureaucracy in your brush, look at its visible cues for perfect consistency: it need to appear easy, relatively self-levelling (now not dripping fast), spherical, and pliable. It ought to neither be overly moist and bright nor crumbly and dry. It will resemble a small, best ball.
Practice, Practice, Practice
Mastering bead manipulate takes time and repetition. It’s surprisingly advocated to exercise on a nail exercise sheet or a dummy finger earlier than attempting application on actual nails. This permits you to get a experience for the product, the timing, and the consistency without the pressure of operating on a customer. Remember, bead control is the absolute basis of ideal acrylic application; ideal this, and the rest of the system turns into lots smoother.
Step-by using-Step Application for Flawless Extensions
With your bead manipulate perfected, you’re prepared to apply the acrylic for a lovely and sturdy extension. This multi-bead method ensures surest energy and shape.
Nail Tip Application (if using)
If you’re extending the duration with suggestions, start by means of deciding on the proper size tip for every herbal nail, making sure it suits sidewall to sidewall with out gapping or pinching. Apply nail glue sparingly to the well of the end. Align the tip cautiously with the natural nail, then press firmly and maintain until the glue is absolutely dry. Once secured, gently mixture the seam where the top meets the natural nail the usage of a pleasant-grit file, growing a smooth transition.
Applying the First Bead (Cuticle Area / Apex)
This bead establishes the inspiration and the crucial apex, that is the best point of the nail’s curve and its most powerful point. Pick up a small-to-medium sized bead and region it carefully at the cuticle region, about zero.5mm away from the actual cuticle line. Using the belly of your brush, lightly push the bead again towards the cuticle without touching the pores and skin, growing a smooth, crisp line. Then, with light, even strokes, slowly flow the bead down toward the end, making sure the product is smoothly spread and the apex is satisfactorily built for structural integrity.
Applying the Second Bead (Stress Area / Mid-Nail)
The 2nd bead reinforces the strain region; that’s wherein the herbal nail meets the extension. Take a medium-sized bead and region it precisely on the mid-nail or pressure factor (the factor where the herbal nail might bend or break). Using your brush, combination upwards into the product from the first bead at the apex and downward in the direction of the free aspect, growing a seamless, strong overlay. This place wishes sufficient product to prevent lifting and breakage.
Applying the Third Bead (Free Edge / Tip)
The very last bead refines the end and free side. Pick up a small bead and place it at the unfastened edge of the nail. Smoothly extend the product to the desired period and shape, whether or not it is square, coffin, almond, or stiletto. Ensure even distribution and a smooth combination with the preceding beads, making sure no lumps or thin spots on the tip.
Shaping & Refining
Once all beads are applied, use the stomach of your brush to smooth and form the acrylic whilst it’s still pliable. Focus on developing the precise C-curve (the gentle arch from the facet view) and a steady arch from the cuticle to the loose area. Ensure even thickness – it need to be thicker on the apex, steadily tapering thinner at the cuticle and the free side. Allow the acrylic to nicely air dry/treatment completely; traditional acrylic calls for no UV/LED lamp, without a doubt time. The surface ought to be hard and non-tacky earlier than shifting to submitting.
Finishing Touches & Post-Application Care
Once your acrylic is absolutely cured, it’s time for the final steps that deliver your nail extensions to perfection and make certain their sturdiness.
Filing & Buffing
This stage is vital for reaching that salon-great appearance. Begin by way of shaping the side walls and the free edge of the nail, perfecting your favored form (rectangular, coffin, almond, etc.). Then, meticulously easy the floor of the acrylic using regularly finer grit documents, shifting from a coarser file (e.g., one hundred eighty grit) to a nice buffer. This eliminates any imperfections and creates a faultless, even canvas.
Top Coat Application
To upload first-rate shine and shield your new extensions, practice a top coat. You can choose a gel pinnacle coat, which affords superior shine and sturdiness however calls for a UV/LED lamp to treatment. Alternatively, a very good pleasant ordinary pinnacle coat can provide a high-gloss finish without the need for a lamp.
Cuticle Oil
Don’t neglect the cuticles! After all of the filing and product software, they need hydration. Apply a nourishing cuticle oil across the base of every nail. This allows maintain the cuticles wholesome, moisturized, and prevents cracking, contributing to the general pristine appearance of your finished nails.
Cleaning Your Brush
This is a crucial step for keeping your precious acrylic brush. Immediately easy your brush with monomer or a specialised brush purifier once you’re executed with the software. Swirl the comb within the cleanser until all acrylic residue is removed, then lightly reshape the bristles and keep it properly (flat or placing) to hold its authentic shape and extend its lifespan.
Common Mistakes & Troubleshooting
Even skilled technicians face challenges. Understanding common pitfalls and their answers is important for improving your acrylic utility abilities.
Lifting
The maximum frustrating problem is lifting, in which the acrylic separates from the natural nail. This is in most cases due to poor preparation (e.g., now not well dehydrating or priming), an incorrect monomer-to-powder ratio (too wet or too dry), or touching the cuticles with product, which creates a high spot for moisture and air to get under.
Bubbles
Tiny bubbles trapped within the acrylic suggest troubles along with your utility technique. Common culprits consist of the usage of too much liquid on your bead, competitive or hard brushing during utility, or on occasion even the usage of vintage or infected monomer which would possibly have air trapped.
Yellowing/Discoloration
If your lovely clear or red acrylic starts to yellow or discolor, several factors could be at play. The most severe is using cheap, low-fine monomer, especially MMA, that is notorious for yellowing. Excessive sun publicity (UV light) can also purpose yellowing, as can an incorrect ratio that effects in an improperly cured product.
Uneven Application
Patchy or inconsistent thickness is an indication of choppy utility. This generally stems from terrible bead manage – not picking up a regular bead length or consistency – or dashing the software procedure, leading to inadequate blending and shaping of the product on the nail.
Over-submitting/Under-submitting
The final shaping level calls for precision. Over-filing can lead to thin, weak nails or maybe damage the herbal nail underneath. Conversely, beneath-submitting leaves the surface bumpy and unrefined. Both point to a need for greater practice and consistency on your filing method.
Conclusion
Mastering acrylic liquid software clearly is an art, stressful practice, endurance, and unwavering adherence to protection protocols. With willpower and the proper strategies, each person can achieve lovely, salon-excellent acrylic nails. Grab your components, begin working towards, and release your potential for stunning nail extensions today!
Related Posts

You Won’t Believe Who Invented Gel Nails
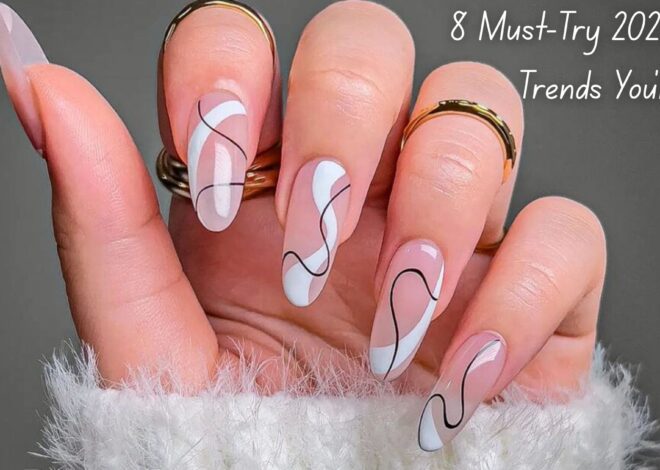
8 Must-Try 2025 Nail Trends You’ll Love
