Straightening your hair and curling it
There’s a reason steam hair straightener are now referred to as “stylers”: they can do a lot more than just Straightening your hair. We thought we’d show you some of our favorite styles created with the ghd styler, which is our favorite because it works on all hair types and has plates that are cleverly insulated so they’re never too hot to handle. With these simple step-by-step images, you can learn some new hairstyles:
1. Straighten your hair
Take your parting from ear to ear and start at the back with the first line, then work horizontally up to your parting. Take parts that aren’t wider than the plate and comb over with a heat control spray. When using the ghd eclipse, follow your comb and make one slow stroke from root to tip. To make it smooth, tuck the ends in slightly.
2. Beach waves
Function in large vertical sections away from your ears. Starting near the root, tilt your styler upwards and twist it at a 360 degree angle as you go down. Start at the level of the cheekbones for the top pieces. When you’re done, rough it up by running your fingertips through the waves for a dirty, tousled feel. It can be matted with dry shampoo or a salt spray.
3. Waves from the vintage
Rep the steps from look 2 except don’t rough up the waves. Wash the waves through with a dressing brush or paddle brush sprayed with shine spray to interlock them into one
4. Curls with a hint of glam
This is a good way to get a bouncy blow-dry without having to work too hard. For root raise, start at the root and twist the styler 360 degrees before pulling it upwards. Enable the curl to set by pinning it in place. Take it down and give it a good brushing with a paddle brush.
5. Wavy crimps
Plait random bits of hair from the top to the near-tip, leaving a 1-2 inch root drag. Enable to dry with a light mist of hairspray. Clamp the plait firmly to flatten it, going up and down a few times before allowing it to cool. Untangle each plait and run your finger through it.
Also Read – HOW TO BLOW DRY STRAIGHT HAIR?
6. A well-kept ponytail

Create a middle part or a low side part in your hair. Straighten according to hairstyle 1. Brush your hair into your ponytail and secure with a band while you tilt your head backwards. Take random pieces of hair and turn them 180 degrees around the styler in various directions to produce polished flicks at the ends. For a dual texture against the glossy roots, use sea salt spray to make it matte.
7. Faux bob from the 1920s
Begin with fine horizontal sections of straight hair. Clamp the hair near the roots and begin feeding it through the styler in a ‘S’ form with short clamps. Perfect finger waves can be achieved by twisting the ends. To make a fake bob, back-brush the hair with a paddle brush for body and pin the ends up and under.
8. Rusty kinks
Place the styler at the eye line, keeping it at a 45 degree angle and clamping diagonally across the hair in wide, random vertical pieces. Switch the styler 180 degrees and leave for a second after clamping the hair, then bring it down 2 inches and turn it the opposite way 180 degrees, again leaving for a second. Repeat the procedure all the way down the hair, leaving the ends out for a dishevelled appearance. For a grungy feel, massage the hair at the roots and rub the ends. For a more matte finish, use sea salt spray or dry shampoo.
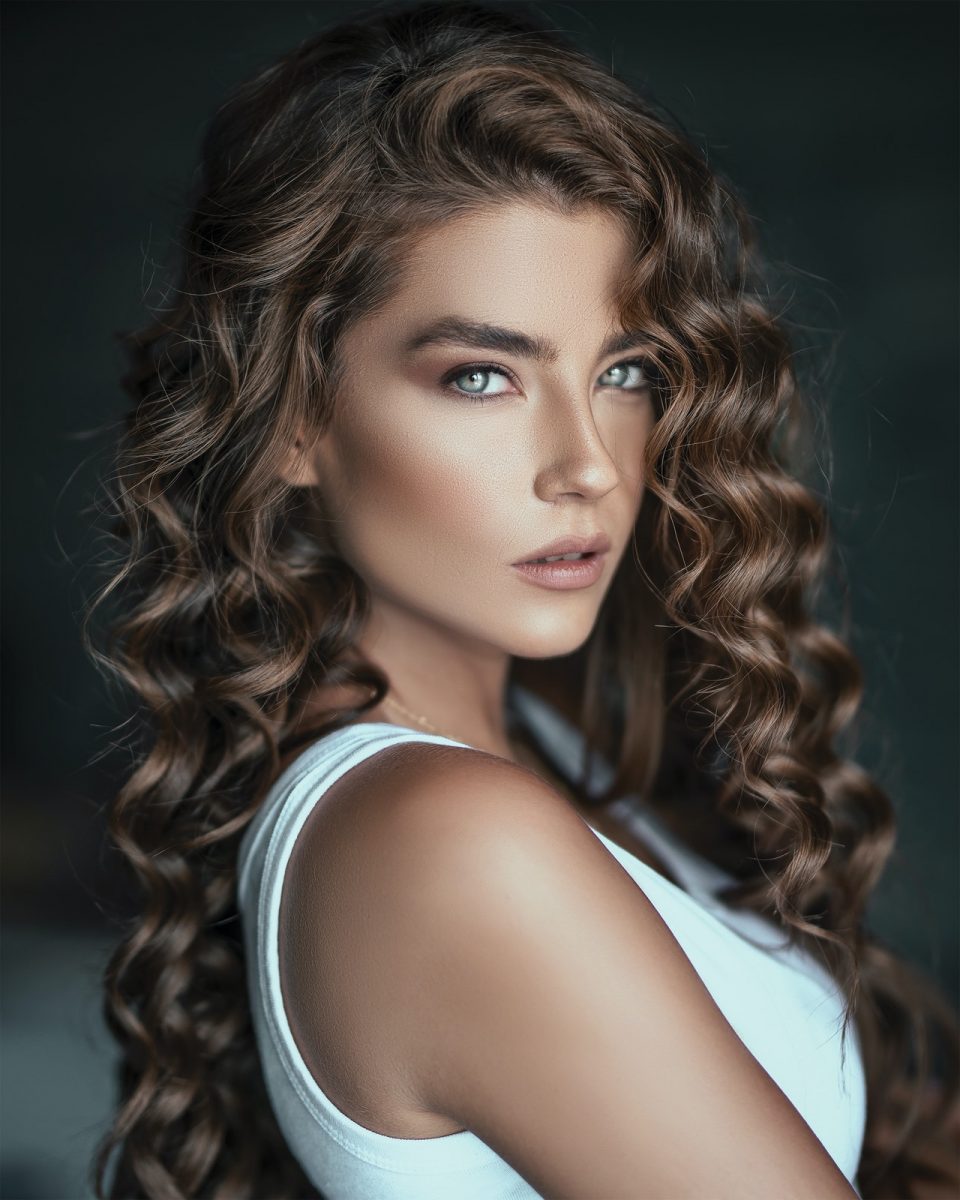
9. Curls with a retro feel
Take horizontal bits, the size of which will depend on the size of your curl. From the bottom to the tip, tie the hair around two fingers. Take out the last strand of hair by tucking it between your fingertips. Pin it as it cools down after clamping it with the styler. Rep with the remaining pieces. Remove the pins and use your fingertips to brush them through.
Also Read – SOME HOME REMEDIES FOR HAIR GROWTH